

 See My Latest Article on HelloNation
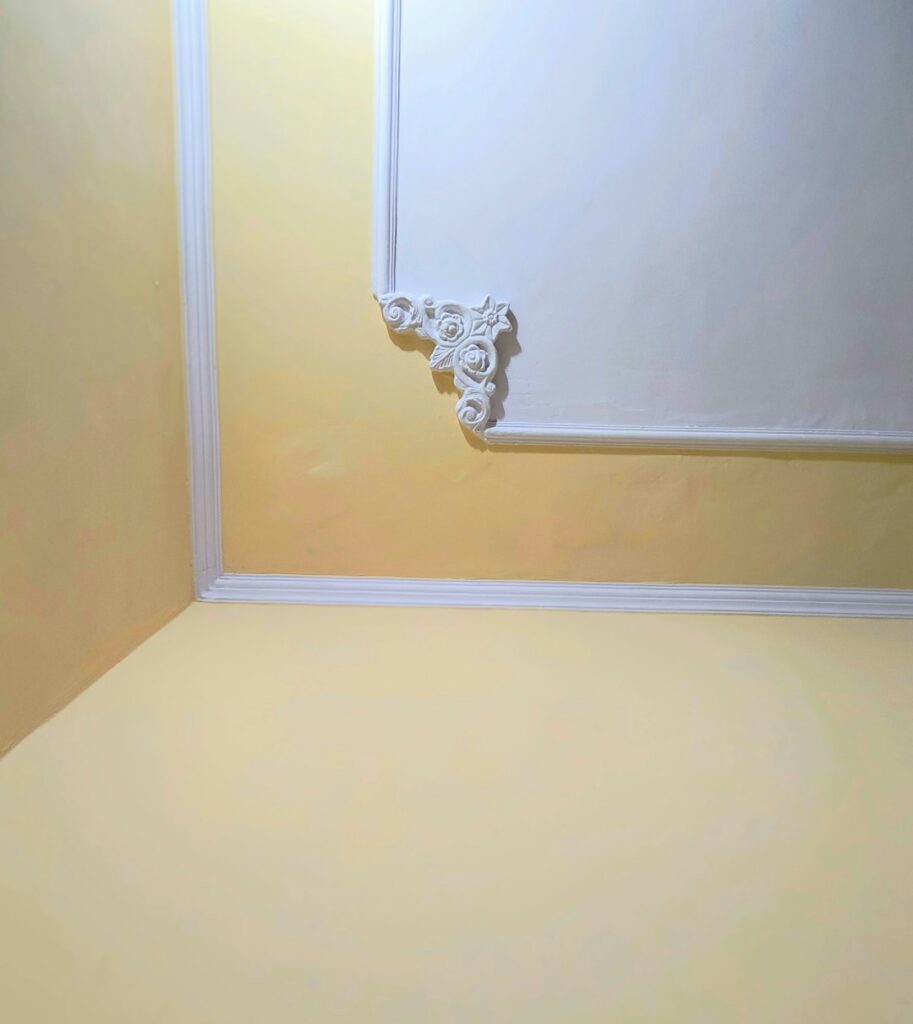
Trim and molding are often the most noticeable areas of a room when paint lines are uneven. Clean results depend less on speed and more on surface preparation, the order of painting, the type of brush used, and careful control near walls and floors.
What should be done before painting trim and molding?
Clean the surface, repair visible damage, remove loose paint, and lightly smooth glossy areas before opening a paint can. Paint will not hide dust, grease, dents, or rough edges.
Begin by inspecting the trim for:
- Nail holes or small dents
- Cracks at joints and corners
- Gaps between trim and wall
- Peeling or flaking paint
- Dust, pet hair, and household grime
- Glossy areas that may prevent good adhesion
Wash the trim with a mild household cleaner and allow it to dry completely. In kitchens, hallways, and other high-touch areas, grease and residue may require more than a dry cloth.
Fill small holes with a suitable patching compound. After it dries, sand the repair until it is level with the surrounding surface. For gaps along the top edge of baseboards or around door casing, a paintable acrylic-latex caulk usually creates a smoother transition. Apply a narrow bead, tool it lightly with a damp finger, and let it cure according to the product instructions.
Homes in Dothan may experience high humidity and seasonal temperature changes. These conditions can make wood trim expand and contract slightly, so flexible caulk is generally more appropriate for small painted joints than a rigid filler.
Should trim or walls be painted first?
For most interior projects, paint the trim first, then the walls. This order makes it easier to create a crisp wall-to-trim line because minor brush marks on the wall can be covered later.
A practical sequence is:
1. Paint the ceiling if it is included in the project.
2. Paint doors, door casing, window casing, and baseboards.
3. Allow the trim to dry and harden.
4. Protect the trim with painter’s tape if needed.
5. Paint the walls.
6. Remove tape carefully while the wall paint is slightly set but not fully hardened.
Some experienced painters prefer painting walls first and then cutting in the trim. That approach can work, but it requires more control and may be less forgiving for someone painting a room without much practice.
How can paint lines near walls and floors stay straight?
Straight lines come from a steady brush, the right amount of paint, and a controlled pace. Painter’s tape can help, but tape does not replace surface preparation.
Use a high-quality angled sash brush sized for the trim width. Load only the lower portion of the bristles, then tap or lightly press the brush against the inside edge of the container to remove excess paint. Too much paint creates drips and rounded edges; too little causes skipping and repeated brush marks.
Place the brush a short distance from the edge, then guide it toward the line with smooth strokes. This is often easier than starting directly on the edge. Work in sections of about two to three feet, maintaining a wet edge so that one section blends into the next.
For baseboards, avoid dragging a heavily loaded brush across the entire length. Paint in manageable sections and inspect the lower edge before moving on. Dust and flooring fibers can collect where the trim meets the floor, especially in homes with carpet or textured flooring.
Is painter’s tape necessary for trim?
Painter’s tape is useful when the adjoining surface is delicate, heavily textured, or difficult to cut neatly. It is not always necessary for experienced brushwork or smooth, well-prepared surfaces.
For better results with tape:
- Use clean, dry tape that is appropriate for the surface.
- Press the edge down firmly without covering the trim face too far.
- Paint with a light coat near the tape edge.
- Avoid allowing paint to build up along the tape.
- Remove the tape slowly while pulling it back over itself.
If the wall has a rough texture, paint may seep beneath the tape. A narrow bead of the wall color brushed along the tape edge can sometimes seal the boundary before the trim color is applied, but this requires allowing the first color to dry.
Do not leave tape in place until the paint is fully hardened unless the product directions specifically allow it. Hardened paint can tear away from the trim or wall when the tape is removed.
What type of paint is suitable for trim and molding?
Trim is commonly painted with a durable interior enamel or trim paint in a satin, semi-gloss, or similar finish. The finish affects both appearance and maintenance.

Satin has a softer sheen and can be useful where a less reflective appearance is preferred. Semi-gloss is easier to wipe clean and is often chosen for baseboards, doors, and casings. High-gloss finishes highlight dents, brush marks, and uneven surfaces, so they require especially careful preparation.
Use a compatible primer when the trim is bare wood, stained, sharply contrasting in color, patched in several places, or covered with a glossy coating. Primer can also help prevent certain wood stains or tannins from bleeding through light-colored paint.
Allow each coat to dry according to the label rather than relying only on how the surface feels. Warm, humid conditions can lengthen drying time. Good ventilation helps, but avoid blowing dusty air directly across freshly painted trim.
How many coats are usually needed?
Two thin, even coats generally produce a more uniform finish than one heavy coat. The first coat may look uneven, especially over repairs or a darker existing color. That is normal.
Lightly inspect the surface after the first coat has dried. Sand only rough spots or raised particles with fine-grit sandpaper, then remove all dust before applying the second coat. Heavy sanding between coats is unnecessary and may expose the underlying surface.
Do not add a thick second coat to cover a problem that should have been corrected during preparation. Runs, brush ridges, and visible patches are usually easier to fix before the next coat.
How can common trim-painting problems be prevented?
Most defects come from rushing, applying too much paint, or painting over a poorly prepared surface.
Brush marks
Use a properly loaded brush and finish each section with light strokes in the same direction. Avoid repeatedly brushing paint that has begun to set.
Drips and runs
Check inside corners, lower edges, and decorative profiles several minutes after painting. Smooth fresh drips with a lightly loaded brush before they harden.
Bleeding or yellow stains
Apply stain-blocking primer where wood discoloration or old water marks show through. Additional paint alone may not solve the problem.
Peeling paint
Remove loose material and feather the edges by sanding. Painting over unstable layers will usually lead to renewed peeling.
Caulk cracking
Large gaps, movement, moisture damage, or structural problems may be beyond a simple cosmetic repair. Small trim gaps can be caulked, but recurring cracks should be investigated rather than repeatedly covered.
How long should trim paint cure before normal use?
Trim may feel dry within a few hours, but it can take several days to develop full hardness. Avoid washing, scrubbing, replacing hardware, or tightly closing painted doors until the coating has cured sufficiently.
Keep furniture, rugs, and cleaning tools from rubbing against freshly painted baseboards. In humid weather, extra curing time is often sensible. A careful final inspection in daylight can reveal missed edges, tiny drips, or areas that need a light touch-up.
Clean lines come from preparation and restraint: repair the surface, use a suitable angled brush, apply thin coats, and inspect each section before the paint sets. That method works for baseboards, door casing, window trim, chair rails, and decorative molding throughout area homes.