

 See My Latest Article on HelloNation
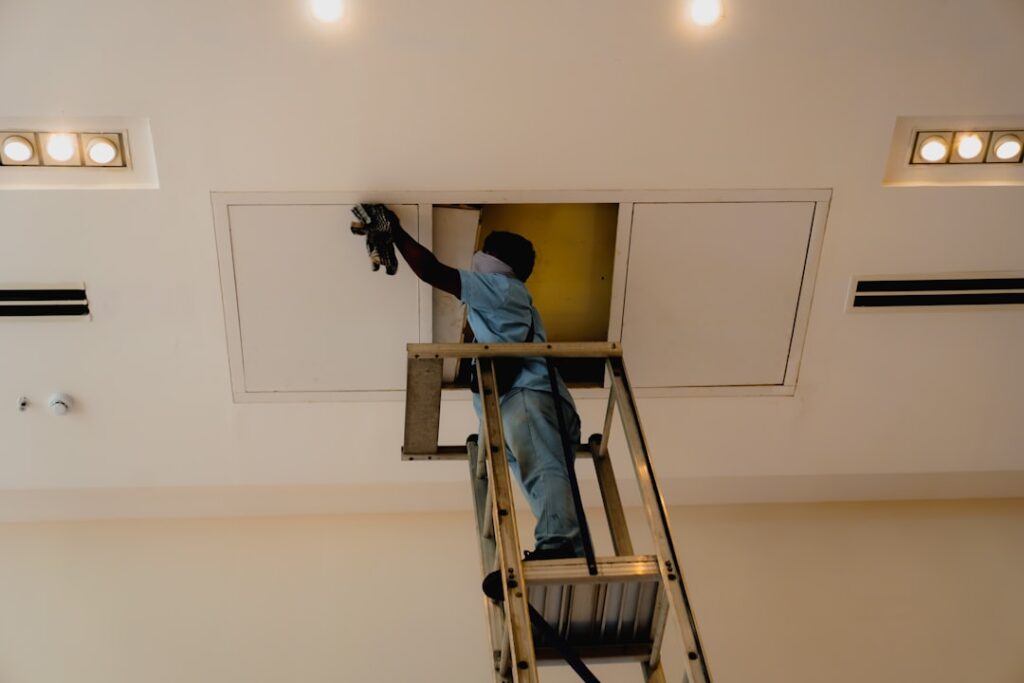
Painting a ceiling can refresh a room, but it also creates more opportunities for drips, splatter, uneven coverage, and strained shoulders than painting walls. A clean result depends less on speed than on preparation, the right amount of paint on the roller, and a work pattern that keeps the wet edge under control.
For homes in Dothan, AL, warm temperatures and periods of high humidity can affect drying time and paint handling. Good ventilation helps, but strong airflow from fans or open doors can cause the surface to dry too quickly while it is still being worked.
How should a room be prepared before painting the ceiling?
The safest approach is to remove as much furniture as possible, cover the remaining items, and protect the floor before opening the paint can. Ceiling paint can travel farther than expected, especially when a roller is used overhead.
Move furniture out of the room when practical. Cover anything that remains with plastic sheeting or tightly secured drop cloths. Use a canvas or absorbent floor covering rather than thin plastic alone, since plastic can become slippery and allows spilled paint to spread.
Before painting:
- Remove light fixtures or loosen decorative covers if it can be done safely.
- Turn off power before handling electrical fixtures.
- Cover ceiling fans and nearby vents without blocking necessary ventilation.
- Protect the top edges of walls with painter’s tape if they will not be painted.
- Place tools, paint, and a stable step ladder where they can be reached without overextending.
A clean ceiling starts with a clean work area. Dust, cobwebs, and cooking residue can prevent paint from bonding evenly. Wipe the surface with a dry microfiber duster first. If the ceiling is greasy or stained, use a lightly dampened cleaning cloth and allow the area to dry fully.
Should ceiling damage be repaired before painting?
Yes. Paint does not hide loose texture, raised nail heads, water stains, or visible cracks. It often makes those defects more noticeable by creating a fresh, uniform surface around them.
Small holes and shallow dents can be filled with lightweight patching compound. Once dry, sand the repair lightly and remove the dust. Hairline cracks should be opened slightly with a putty knife before filling so the repair material can bond to the edges.
Water stains require extra caution. Painting over a stain without addressing the source may lead to bubbling, discoloration, or recurring damage. Check for signs of an active roof, plumbing, or HVAC leak before covering the area. A persistent leak or softened ceiling material may require repair before any cosmetic work begins.
Textured ceilings should be handled gently. Aggressive sanding or scraping can remove texture unevenly and create a visible patch.
Is primer necessary on a ceiling?
Primer is useful when the ceiling has stains, patched areas, bare drywall, a dramatic color change, or a surface that absorbs paint unevenly. For a clean, previously painted ceiling in good condition, a quality ceiling coating may cover adequately without a separate full-surface primer.
Spot-prime repaired areas rather than applying finish paint directly to bare patching compound. Unprimed repairs can absorb paint and appear dull or patchy after the rest of the ceiling dries.
Stain-blocking primer is generally more appropriate for smoke marks, water discoloration, or other persistent stains. Follow the product’s drying instructions carefully, especially during humid weather.
What tools reduce ceiling paint splatter?
The tools matter, but technique matters just as much. A medium-nap roller can hold enough paint to cover efficiently without requiring excessive pressure. Very thick nap may create more texture or splatter on a smooth ceiling, while a very thin nap may struggle with textured surfaces.
Useful equipment includes:
- A roller frame with an extension pole
- A sturdy paint tray with a ribbed ramp
- An angled brush for edges and around fixtures
- A small bucket for controlled brushwork
- Drop cloths and plastic sheeting
- A stable ladder for areas the extension pole cannot reach
- Safety glasses or protective eyewear
Avoid overloading the roller. Dip it into the paint, then roll it several times over the tray’s ridges until the cover is saturated but not dripping. Paint falling from the roller usually indicates too much material, excessive pressure, or moving too quickly.
What is the cleanest order for painting a ceiling?

Start with the edges, a step often called cutting in. Use a brush to paint a narrow strip around the wall line, corners, vents, and light fixtures. Work in manageable sections instead of edging the entire room and allowing that border to dry before rolling.
Next, roll the main ceiling surface while the brushed edge is still workable. Begin near a corner and work across the ceiling in sections roughly three to four feet wide. Keep each pass slightly overlapping the previous one.
Use light, steady pressure. The roller should do the spreading; pressing hard can create thin spots, splatter, and visible roller marks. Maintain a wet edge by moving from one section into the next before the paint begins to set.
For the final passes, roll in the same direction as the main source of natural light when possible. This can make minor roller texture less noticeable. Do not repeatedly roll areas that have started to dry, since that can create dull patches or a rough finish.
How can drips and splatter be prevented?
Most ceiling messes come from working overhead with too much paint or from failing to monitor nearby surfaces. Keep the roller loaded enough to cover but not so heavily that paint runs along the frame or falls from the cover.
Pause occasionally to check:
- The floor near the ladder
- Wall surfaces below the ceiling line
- Light fixtures and fan blades
- The roller frame and extension pole
- Areas where the ceiling changes height or texture
If a drip lands on a wall or trim, wipe it promptly with a damp cloth before it skins over. Do not use a dry cloth on fresh paint, because it can spread the mark.
A roller shield or closely held protective board can help near walls, but careful control and properly secured coverings are usually more reliable than trying to paint rapidly.
How many coats does a ceiling need?
Many ceilings need two thin, even coats, especially when covering stains, patchwork, darker paint, or an uneven previous finish. A second coat should not be applied simply because the first one looks slightly inconsistent while wet. Ceiling paint often changes appearance as it dries.
Allow the first coat to dry according to the label directions. Humid conditions in Dothan may extend drying time, particularly in rooms with limited air movement. Do not use strong heat or direct airflow to force the process, since premature drying can produce lap marks and uneven sheen.
Inspect the ceiling under normal room lighting before applying another coat. Touch up only after the surface is fully dry, and avoid creating isolated glossy or heavily textured spots.
What safety issues deserve extra attention?
A ceiling project requires repeated reaching, ladder movement, and overhead work. Use a ladder on a level, dry surface, and climb down whenever it must be moved. Do not stand on the top step or stretch sideways to reach an unpainted area.
Wear eye protection, especially when rolling textured ceilings or working with primer. Older homes may contain unknown coatings or damaged materials. If scraping, sanding, or disturbing a surface creates unusual dust or raises concerns about hazardous older paint, stop and seek appropriate safety guidance before continuing.
Careful preparation, controlled roller loading, and a consistent work pattern usually prevent most ceiling-painting problems. The goal is not to finish as quickly as possible; it is to keep the surface, tools, and surrounding room under control from the first edge to the final pass.